Click the firmware file above to download, It should download to your default Downloads directory
Click here for Special custom firmware when instructed custom firmware
Click here to get the Tunerstudio INI file here ini file
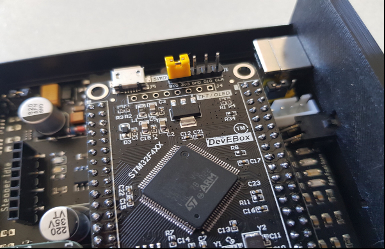
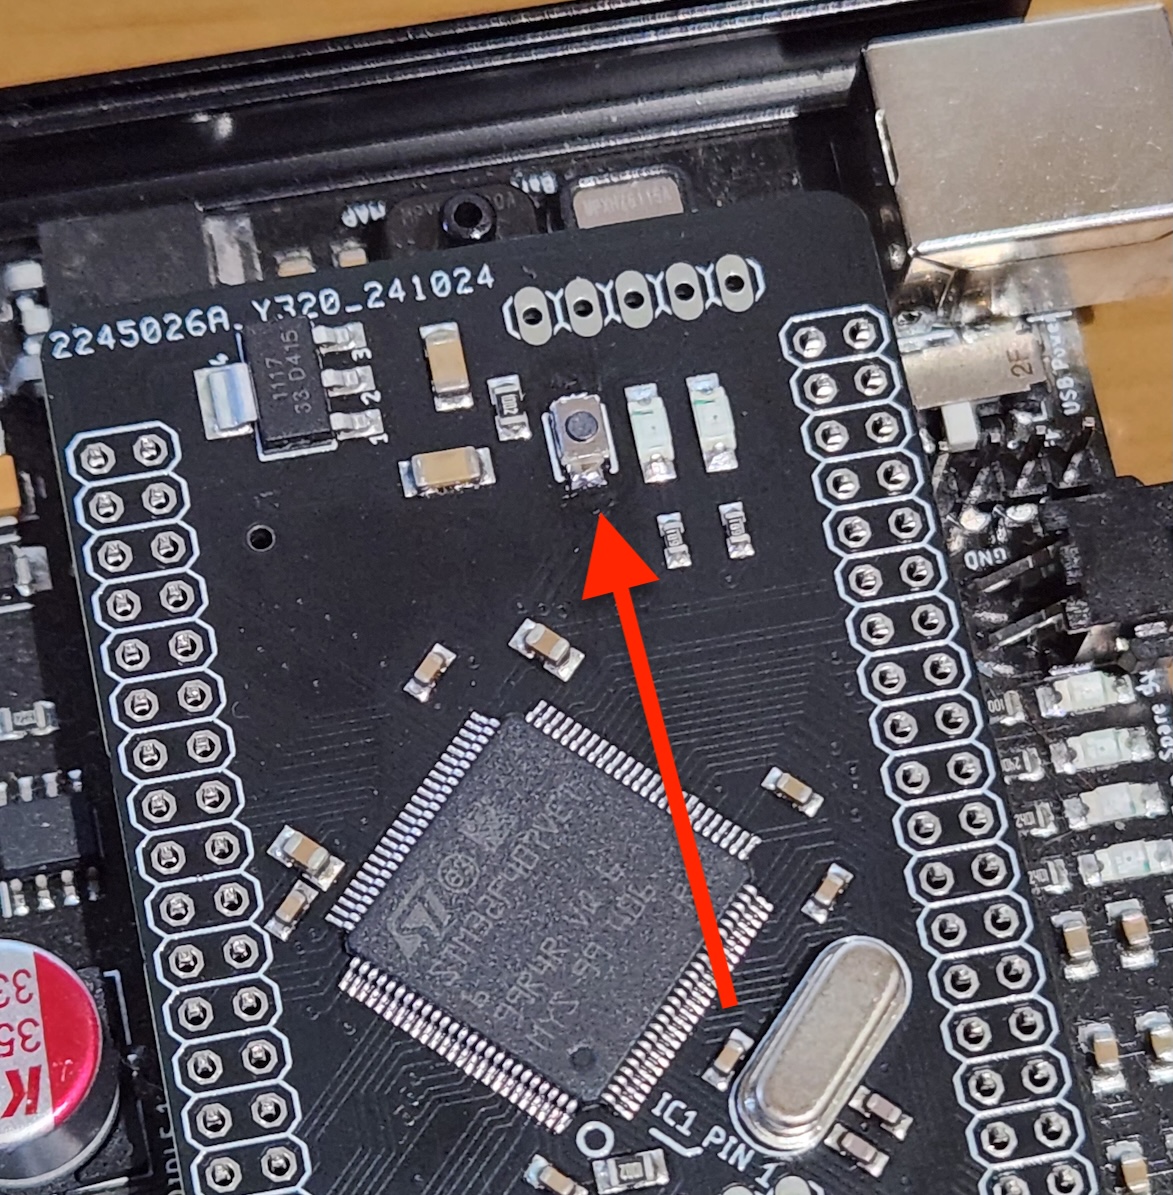
Remember to place the jumper on the pins as shown in the first picture. If you have the second version, Press and hold the button while you connect the USB power.
ECU's that look like the first picture, you use the jumper and then power up the ecu, when you get to the connect step you will see the devices list and one will be DFU.
you can now program the ECU, Once completed wait for 20 seconds before removing the power and resetting the ECU.
The units with the button have 2 LEDs, GREEN is power and RED is MCU active. when using the second method (push button),
the GREEN will light and the RED will not, this is in DFU/Programing mode.
If the RED LED is flashing its still active mode and you will need to try again.
Some ECU's will still have the jumper and 2 LEDs, The LED actions and wait time will still apply, but you will have to remove the jumper when repowering the ECU after the firmware upload.
You can now program the ECU, Once completed wait until the RED LED begins to flash for a couple of seconds before removing the power and resetting the ECU.
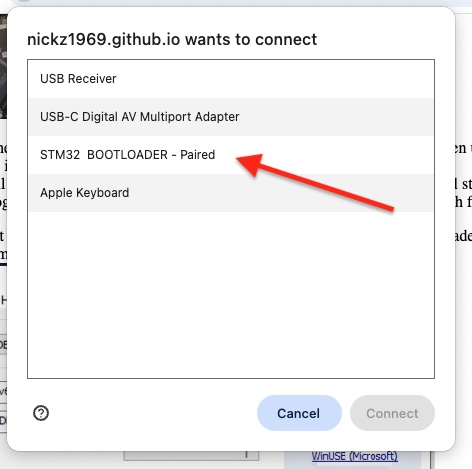
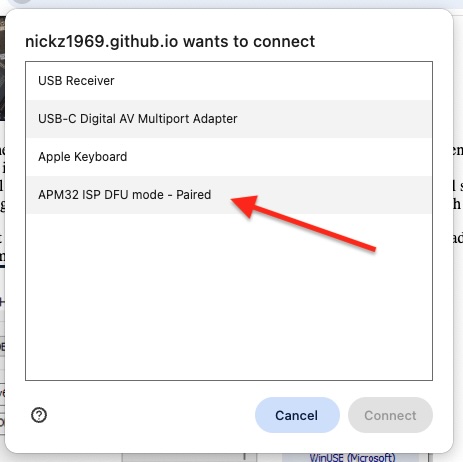
Clicking connect will open a window listing USB devices, Click on the STM32 Bootloader or AMP32 ISP DFU.
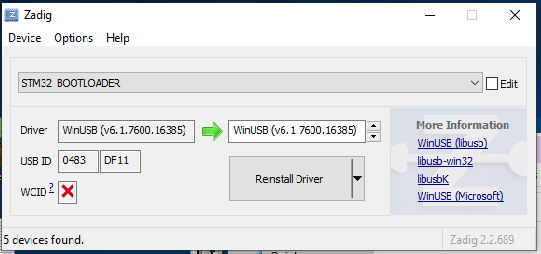
Windows users may need a special USB driver, available here Zadig
This should only be needed the first time on each computer you use. once set windows should remember.
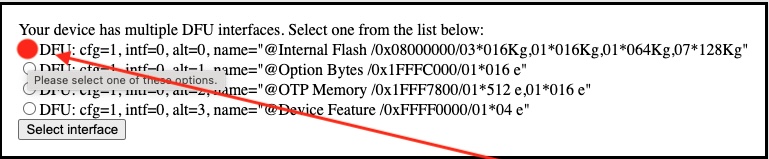
It will then tell you there are multiple interfaces,
Select this one by using the radio button then click 'select interface'
Errors
If you receive this error, don't panic, the MCU just isn't reporting back the correct reply.
This happens on the AMP32 chip and is normal.
About
This is a proof-of-concept demo of host USB DFU drivers in Javascript utilizing the WebUSB draft standard to implement USB firmware updates from the browser.